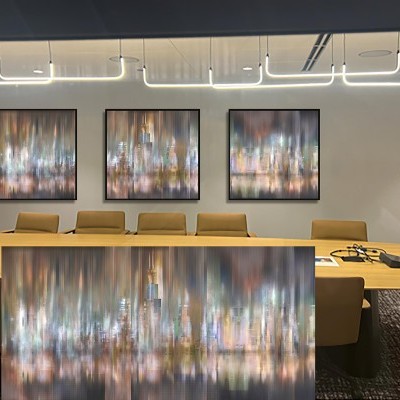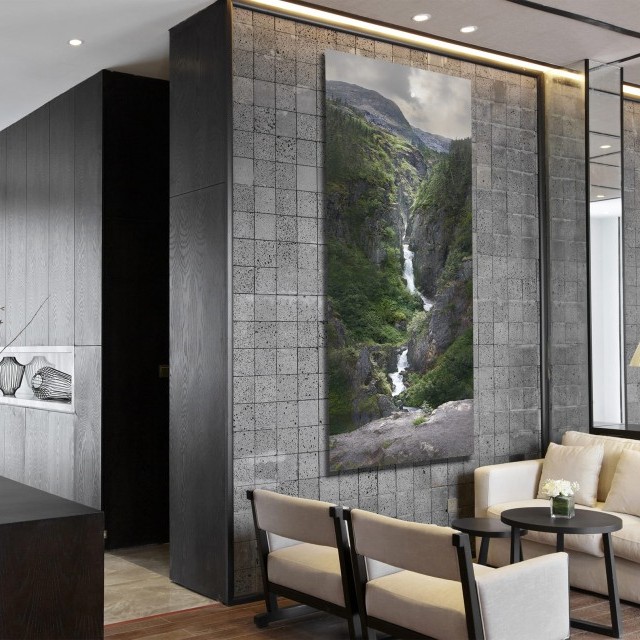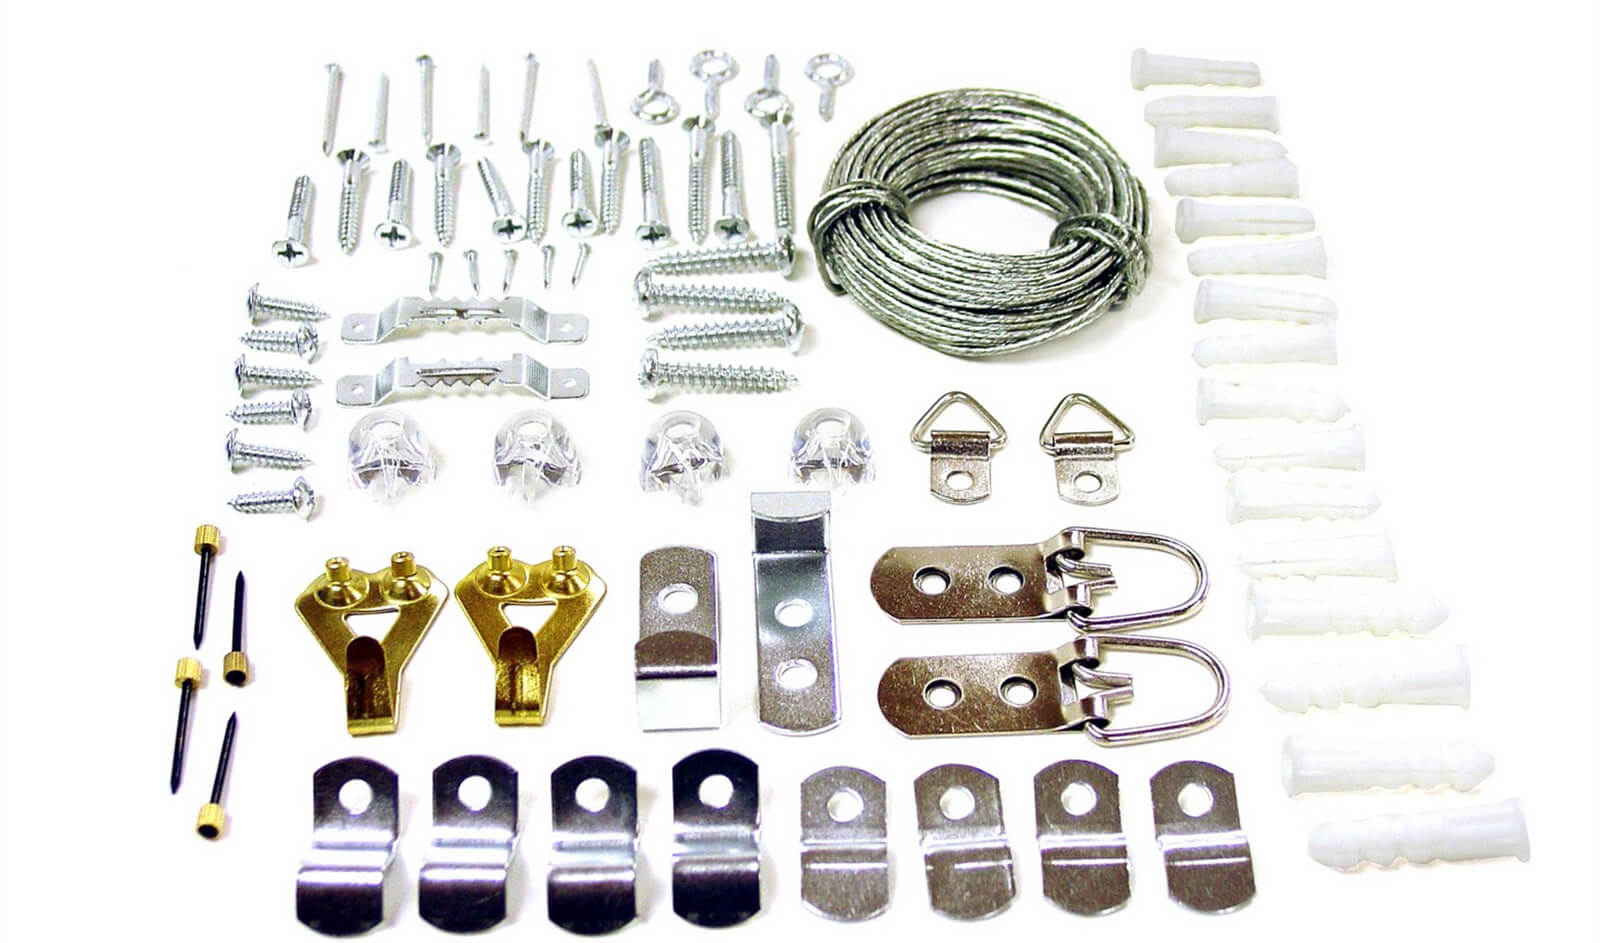
It all starts with proper picture frame supplies needed to hang your wall art easy and fast.
The following are effective hardware choices I recommend to make hanging your pictures easy. From picture hooks to art frame bumpers, you'll want to know your options before making holes in your wall.
Push Pins
Good ol’ fashioned pushpins often do the trick when you’re hanging lighter, smaller artwork. I’ve been amazed at how effective and long-lasting simple pushpins can be. Ideally, your artwork would have pilot holes in the back to accommodate them, but I’ve had success without them as well, especially with smaller canvas wraps. The advantage of these is that they are extremely easy to apply to the wall (no hammer required most times) and leave very tiny holes which are hardly visible.
Picture Hook, Wire, and Hanger
This approach has been around forever because it is effective for wall art of all sizes and weights. Go to your local hardware store and you can find kits that comprise the hooks (often called D-Rings or eye hooks), the wire, and the hangers.
Be careful not to mount the wire to low on the piece, otherwise the weight of the piece will cause the top half to hunch forward and the piece will not be as flush to the wall.
If your art is very light, eye hooks will do, but if you want to play it safe, always use D-Rings. Make sure the D-Rings, wire, and hanger (hooks) have a rating that will support weight heavier than your art. Use a level and ruler to ensure that both the picture hooks and D-rings are aligned on the back of the art when installed.
Strap hangers, which are similar to D-Rings offer multiple screw holes in the strap to reduce the possibility of hanger failure due to screw tear-out. The advantage to this technique is that it often only requires one hole versus two.
Picture hooks come in all sorts of styles, but they are incredibly flexible to cater to any of your wall art needs and some multi-nail hooks can support artwork up to one hundred pounds.
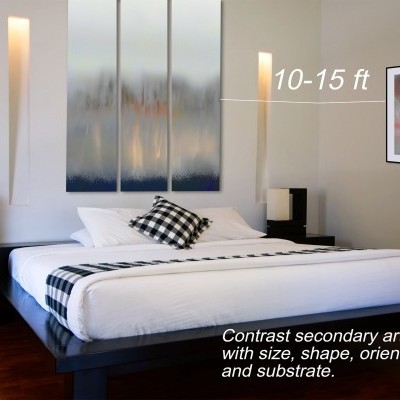
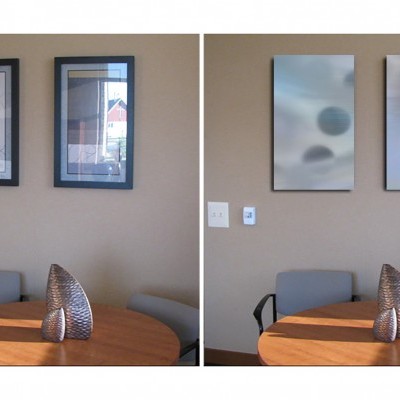
Use two picture hooks for wide artwork or heavy wall art. This method distributes the weight of the work evenly, adds security, and assures that it will hang straight throughout the test of time.
If you buy single panel canvases from Franklin Arts, feel free to use the brackets that accompany the artwork for easy hanging
Professional Grade Picture Hooks
These are perhaps my personal favorite. I've hung massive oversized art on these professional grade picture hooks and they've never failed me. They're amazing since you can hang wall art of nearly any weight. The special two and three-pronged nail inserts distribute the weight on the wall without creating gaping holes. If I were to choose any of these, this would be my selection every time.
Sawtooth Hangers and Nails
This method has also been around since the beginning of time, and also proves very effective for art that is on the moderate to light side. If sawtooth hangers are not placed in your art already, most come with a fairly sharp end or tiny nail pins so that you can gently insert them with a hammer. Just make sure if this is required that they are lined up accurately for easy straight hanging. The disadvantage of this technique is that it requires the hanging of two nails that are perfectly straight across on the wall and spaced perfectly (assuming you need two hangers on one artwork) which can make the process more difficult to hang. However, here's a quick tutorial on how to hang wall art with two hooks.
Wall Mounting Tabs
3M created these unique wall mounting tabs, but I would use these with great caution. They seem to be only suitable for very light weight wall art like posters or banners. These are nice since they can be used on nearly any surface.
Brick Wall Picture Hooks & Drill Bit
If you need to hang your wall art on brick, the good news is that it’s fairly straight forward and not a whole lot different than normal walls. You may need a drill bit to serve as a pilot whole so the nail will stick into the brick properly. Make sure to watch out for the depth of the pilot hole—softer brick may only need a shallow starter hole while harder brick walls may need a hole the full length of the nail. On masonry walls it is preferable to nail the Brick Hook into a mortar joint if possible, rather than into the wall material itself. Mortar is usually softer and less likely to crack.
Hardwall Picture Hooks, Anchor Hooks, & Drill Bit
Walls with surfaces of concrete, stone, cinderblock, and concrete can be somewhat of a challenge when it comes to hanging wall art. Pilot holes with plastic or metal anchors will make the hole reliable for a very long time. A screw with an attached picture hook can be inserted into the anchor and tightened down. Hardwall plastic hooks and concrete screw hooks are also available and you can read more information about these speciality hardware hangers.
Advanced Specialty No-Wire Hangers
If you’re looking to avoid wires, these might be a good choice. Often called hook-ups, track master hangers, and wall buddies hangers, these all do the job very effectively but do require a bit more detail and instructions when it comes to installation. For more information, govart.com has more information about these picture hanging systems.
Picture Frame Bumpers
Self-stick picture frame bumpers, also called pads or cushions, can be applied to the back side of your wall art to prevent damage to your wall as well as keep them placed level on your wall. There are several kinds on the market with the main kinds being rubber, a more grip-like surface, and felt, which serve as more of a cushion between the art and the wall.